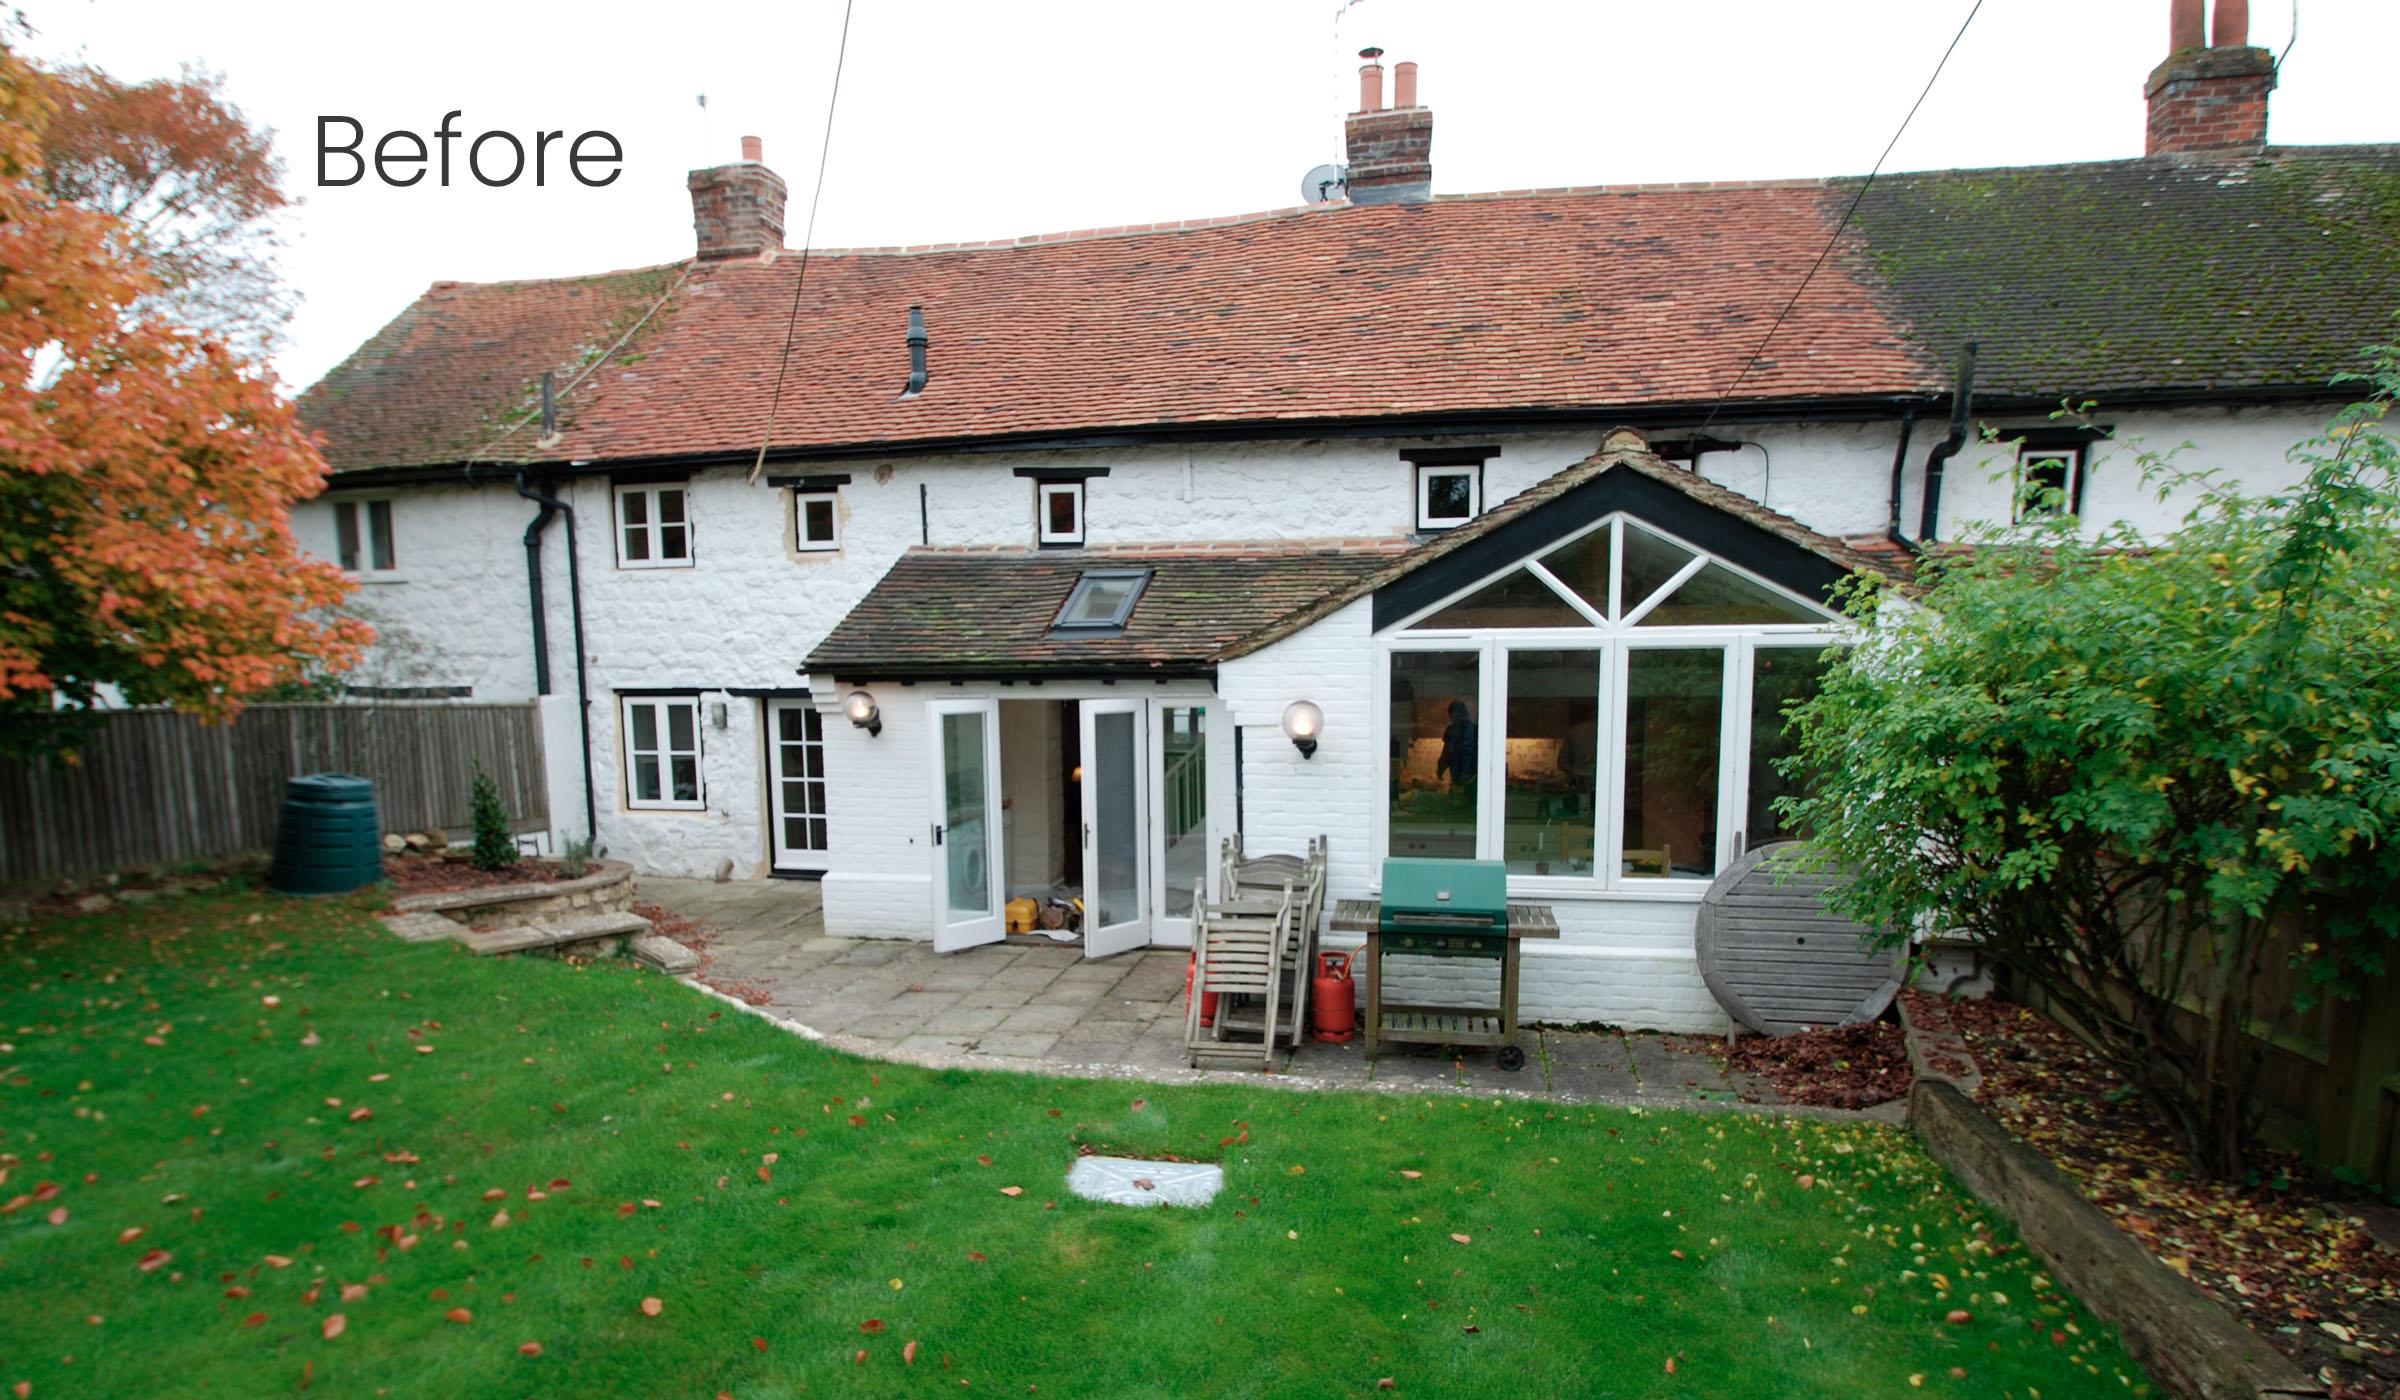
I wanted to talk a little about complex construction and layers in this blog. This was a garden I designed in Long Crendon in Buckinghamshire. My clients wanted elegant curves, a seating space, fine lawn and flower beds.
Robert is a well established engineer and I could see that he wanted a neat, refined design, that was (obviously) well engineered.

The site had a lot of level differences between 50cm and 1.4 metres. I came up with the idea of two intersecting circles at different levels (a terrace and a lawn).

I proposed to surround the lawn with a path so the clients could walk around the flower beds, and the wall would curve up and down sinuously in order to deal with the level differences outside of the site. This meant retaining walls would not need to be built on the boundaries of the site. I try to work in this way on my projects, because this achieves the outcome that we are creating a beautiful wall that also resolves a design issue with the site, and we are spending the construction money on something that we look at, rather than expensive retaining walls in the background. I believe that’s economical garden design and construction; it doesn’t make a garden cheap to build, but landscapes that are built to last are an investment and I want to see that investment in attractive features in the space rather than hidden in the background.


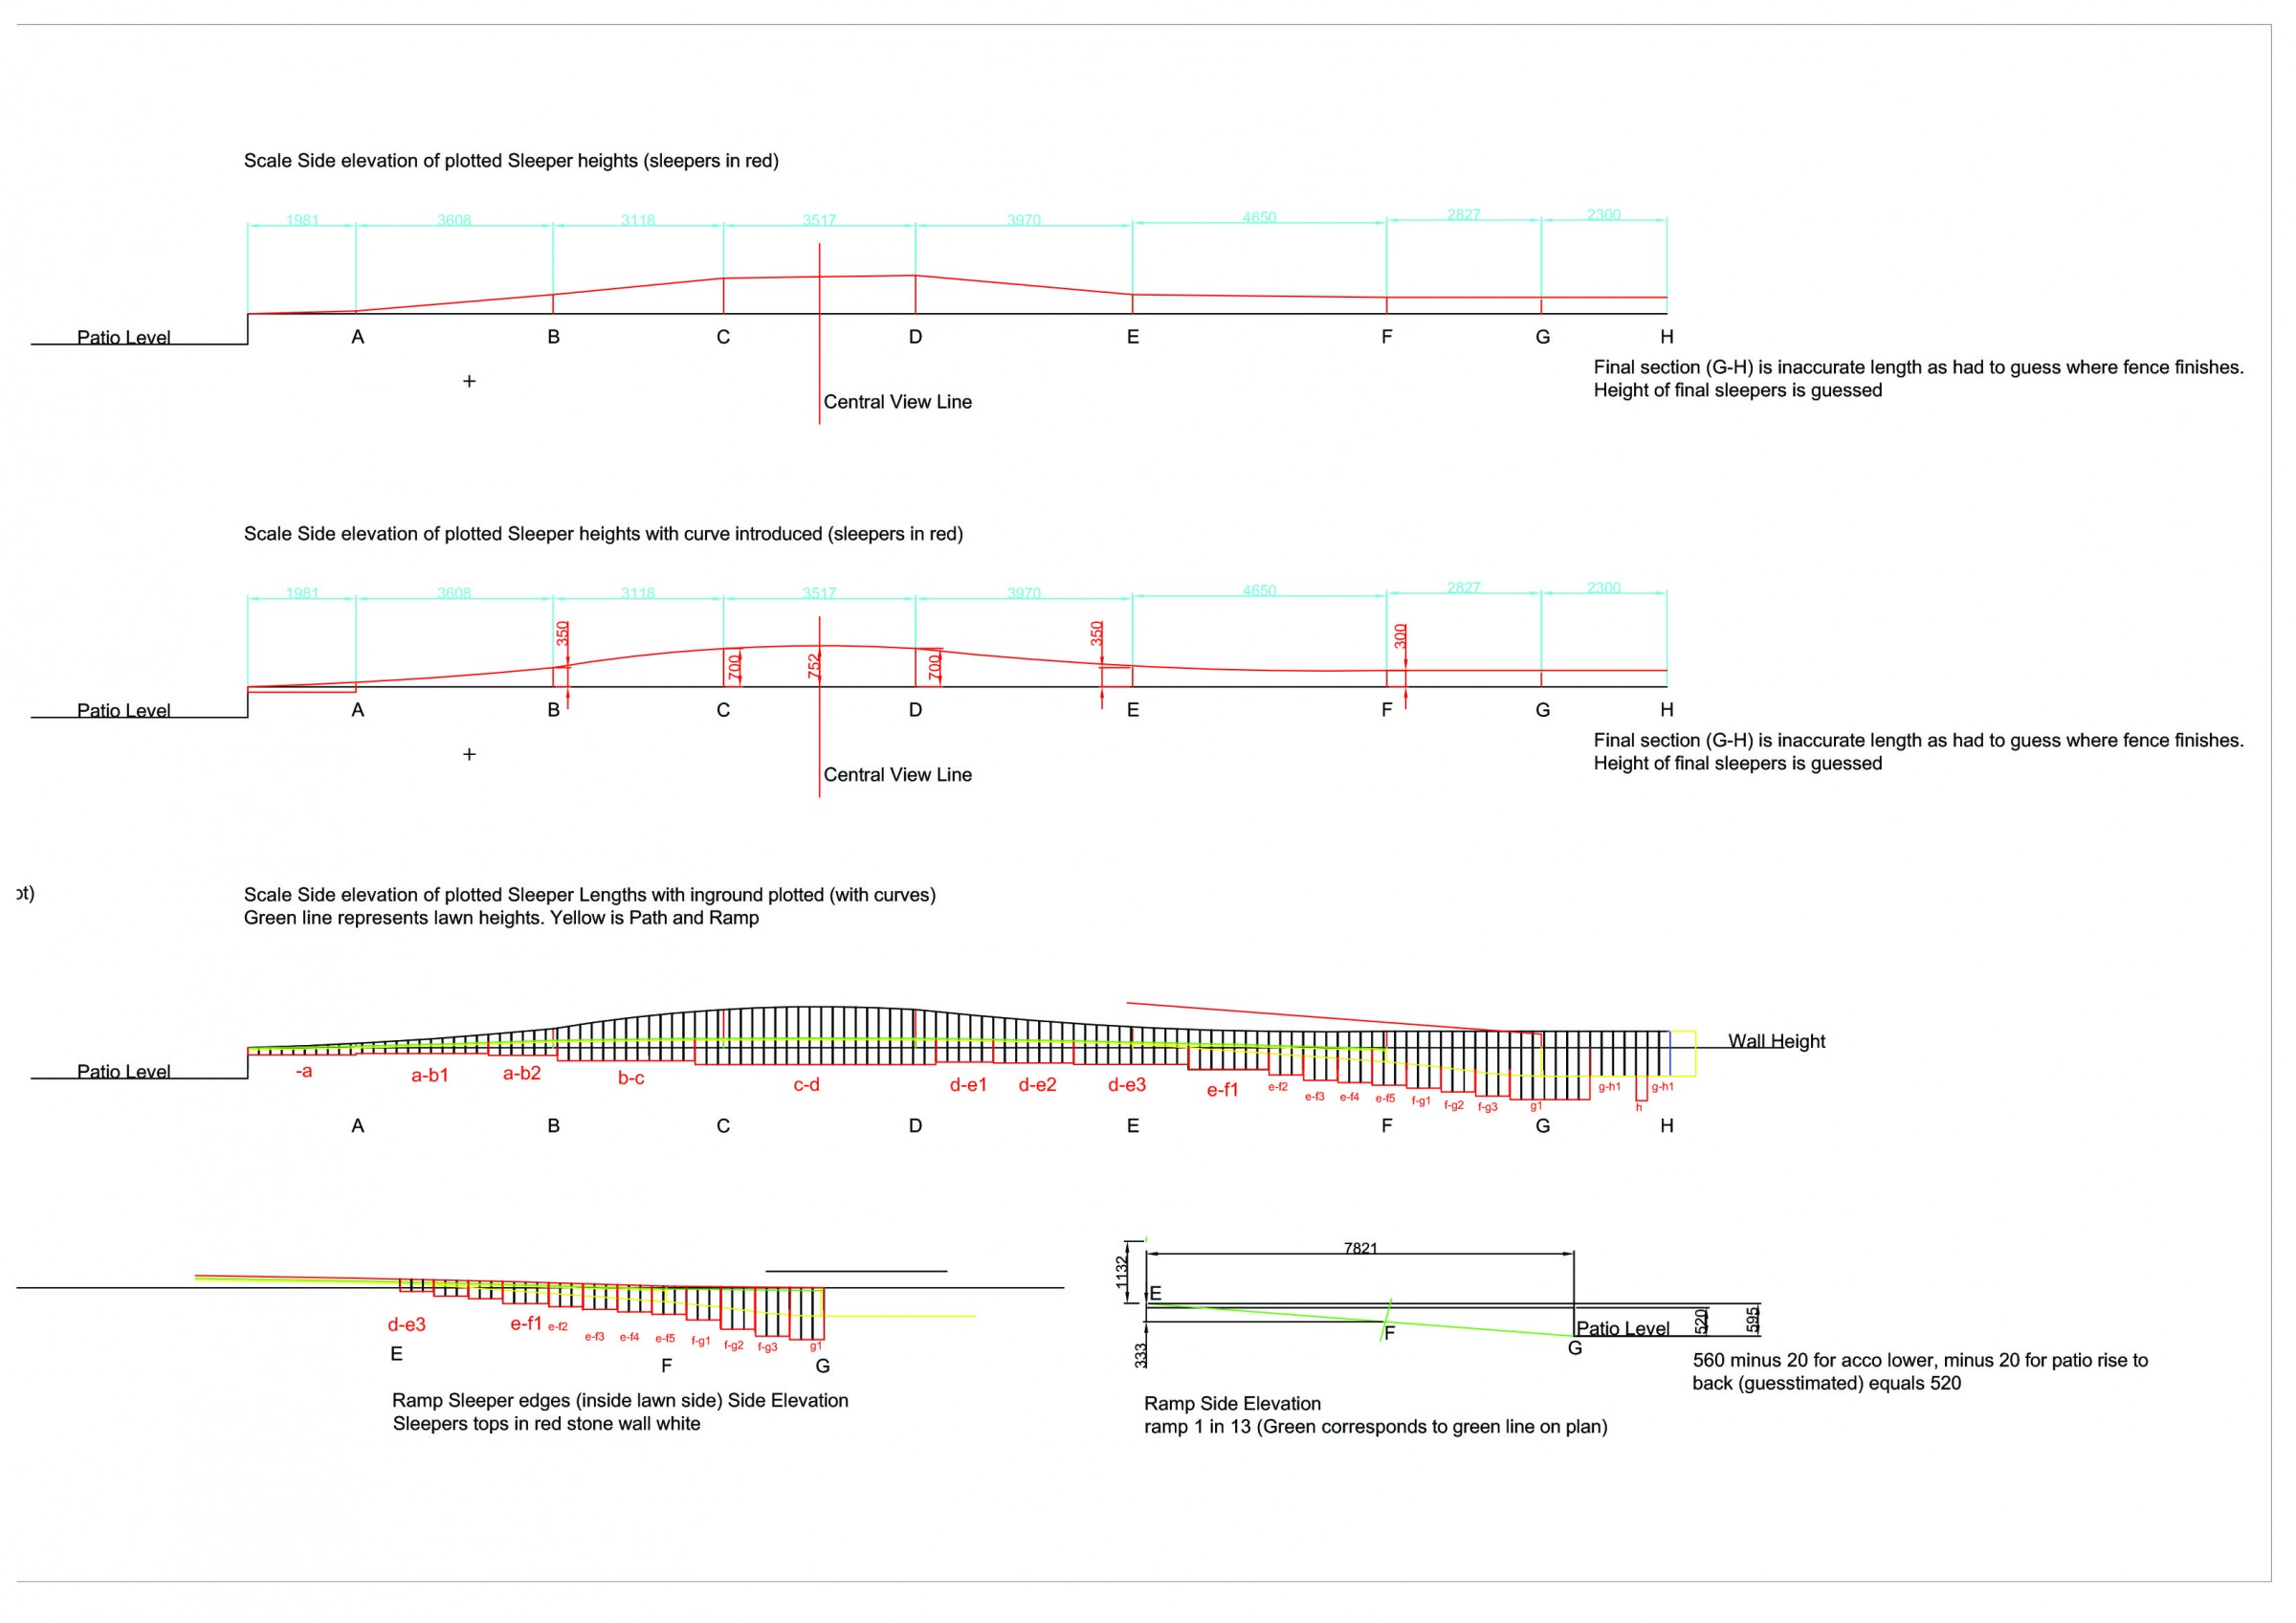
Each element of a garden needs to be drawn for construction. For this project I created an autocad drawing that would instruct the landscapers to cut each and every piece of wood individually. That’s because once the oak was in the ground, it would be very difficult to achieve a clean cut at the top if the sleepers, so I requested the job was quoted in this way. This is a good illustration of hinking through how a job will be constructed, detailing that process in the tender documents and providing appropriate drawings to the landscapers for quotation and construction. Below is an example of a construction drawing which used together with a spreadsheet, would inform the landscapers how to cut each piece of green oak individually. Please watch the video below to see the job on site and the finished work after construction.


